Manipulating audio in Ableton is absolutely the best. It makes changing speed, pitch, warping and slicing totally painless.
Today our focus is going to on how to transpose audio in Ableton while preserving the speed. This, like most audio manipulating functions in Ableton, es exceptionally simple. The resulting audio also maintains very high quality. In most cases, it’s difficult to tell the audio has been transposed to begin with. Unless of course, you want to make it sound totally processed, Ableton does that well too. But that’s for another time.
Transposing Audio Clips
Once audio is brought into Ableton, It is ready to be transposed.
All of the transposition controls can be found in the sample editor dialogue box in the clip view at the bottom of your screen.
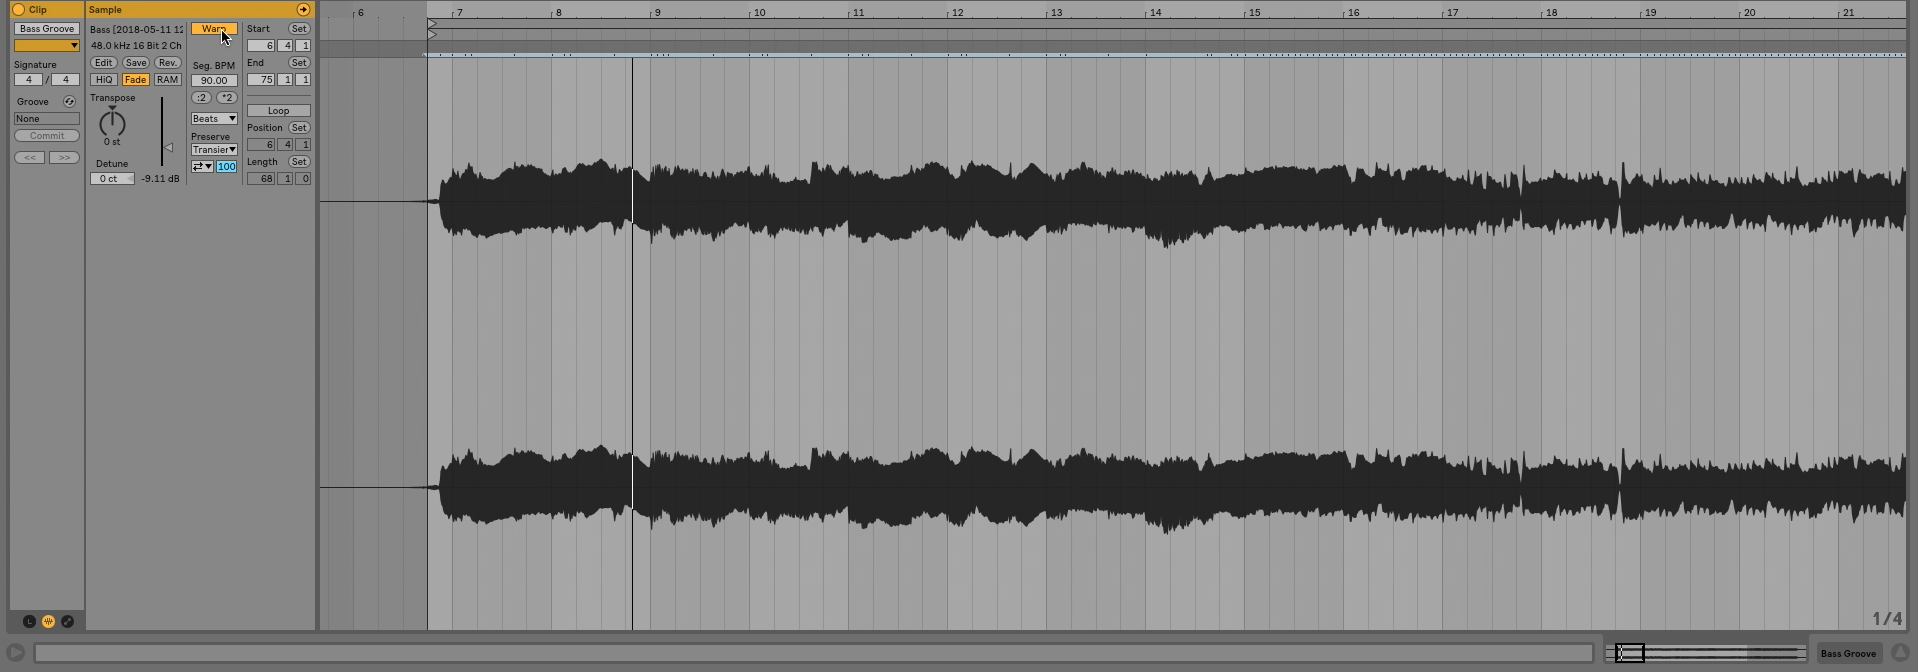
There are several controls in this box, but we are going to focus on the most important ones for transposing audio.
- Warp
- Warp Mode
- Transpose Dial
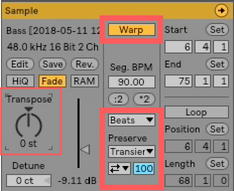
The Warp Button
In order to be able to transpose audio without changing the tempo, the warp button must be enabled. If you think through that, it sort of makes sense. Our ears register pitch based off of the speed of sound waves, so if you are changing the pitch, the naturally occurring thing would be to also change the speed. With Warp mode enabled, Ableton keeps the audio in time while you transpose it.
Warp Mode
Ableton suite has 6 warp modes. They are:
- Beats – Best for rhythm tracks
- Tones – Best for clearly pitched tracks, like a vocal or lead guitar
- Texture – Best For Polyphonic sounds, Like Pads and Synths
- Re-Pitch – Changes pitch based off of tempo adjustments
- Complex – Works on anything. Necessary for audio that has characteristics of all the above mentioned
- Complex-Pro – Works on anything, Helpful for large amounts of transposition while maintaining audio quality
How to Transpose
Step 1: With warp mode enabled, move the transpose dial to the desired transposition.
Step 2: Choose the warp mode from above that best fits your audio. Select that from the dropdown list.
If you won’t need to transpose the audio back to its original pitch, I highly recommend freezing and flattening your newly transposed audio. This will relieve your computer of needing to process the transposition in real time, and instead will play back an audio file that is already changed to your liking. Straight playback is way less labor intensive.
Now, get out there and transpose some audio! And when you’re done with that, head over to our facebook group and connect with me and a whole community of Ableton learners. Being a part of a music community makes you a better musician, and helps to keep you inspired. Its also a great way to ask questions, and to help others with theirs.
Until next time, happy creating.
-Brett