One of the features I love about Mainstage is the ability to “jump to” a specific sound no matter where you are in your patch list. Today we are going to look at how to create that same functionality inside Ableton.
But first… A story
A few years back I was working on a production of Guys and Dolls with a very hip group of 5th-8th-graders, who did a wonderful job overall. No matter how hard we rehearsed it, Luck Be A Lady was always just a little bit off, and to add insult to injury we had a full band backing them up. Anyone who has spent any amount of time accompanying children singing knows sometimes you need to jump to the spot they somehow ended up at, even if it is technically incorrect. Anyone who has conducted a band accompanying children knows that it is WAY harder to move an entire band with a rogue child actor then it is just to move yourself, but when opening night came, that is exactly what needed to be done.
Now for this particular song, I was not using a piano patch, but I was filling in what was missing in the orchestra with a saxophone plug-in in my left hand, and a trumpet in my right. This sounded lovely with the rest of the band, but all of a sudden…
Sometimes you have a very unladylike way of running out…
Luck, let a gentleman see!
And just like that, we had skipped 50 measures of music, the band was lost and the kids were headed quickly down the path of no return. To the unrefined sound of boom-chick boom-chick being played by an ensemble of synth saxophones and trumpets, I tried to lead the band and kids back to the right spot.
Perhaps by the panic in my face, or perhaps by the waving of my hands, or maybe be the sudden change of tempo and lyrics the band finally caught up with the children and we made it to the much abridged, but still poised ending of the number. All the excitement made me realize that when working with a patch list, you always need a way to jump to a generic sound just in case.
Here is how to set up that “Jump to” feature inside Ableton live, just like in Mainstage.
Creating the Jump To Function in Ableton
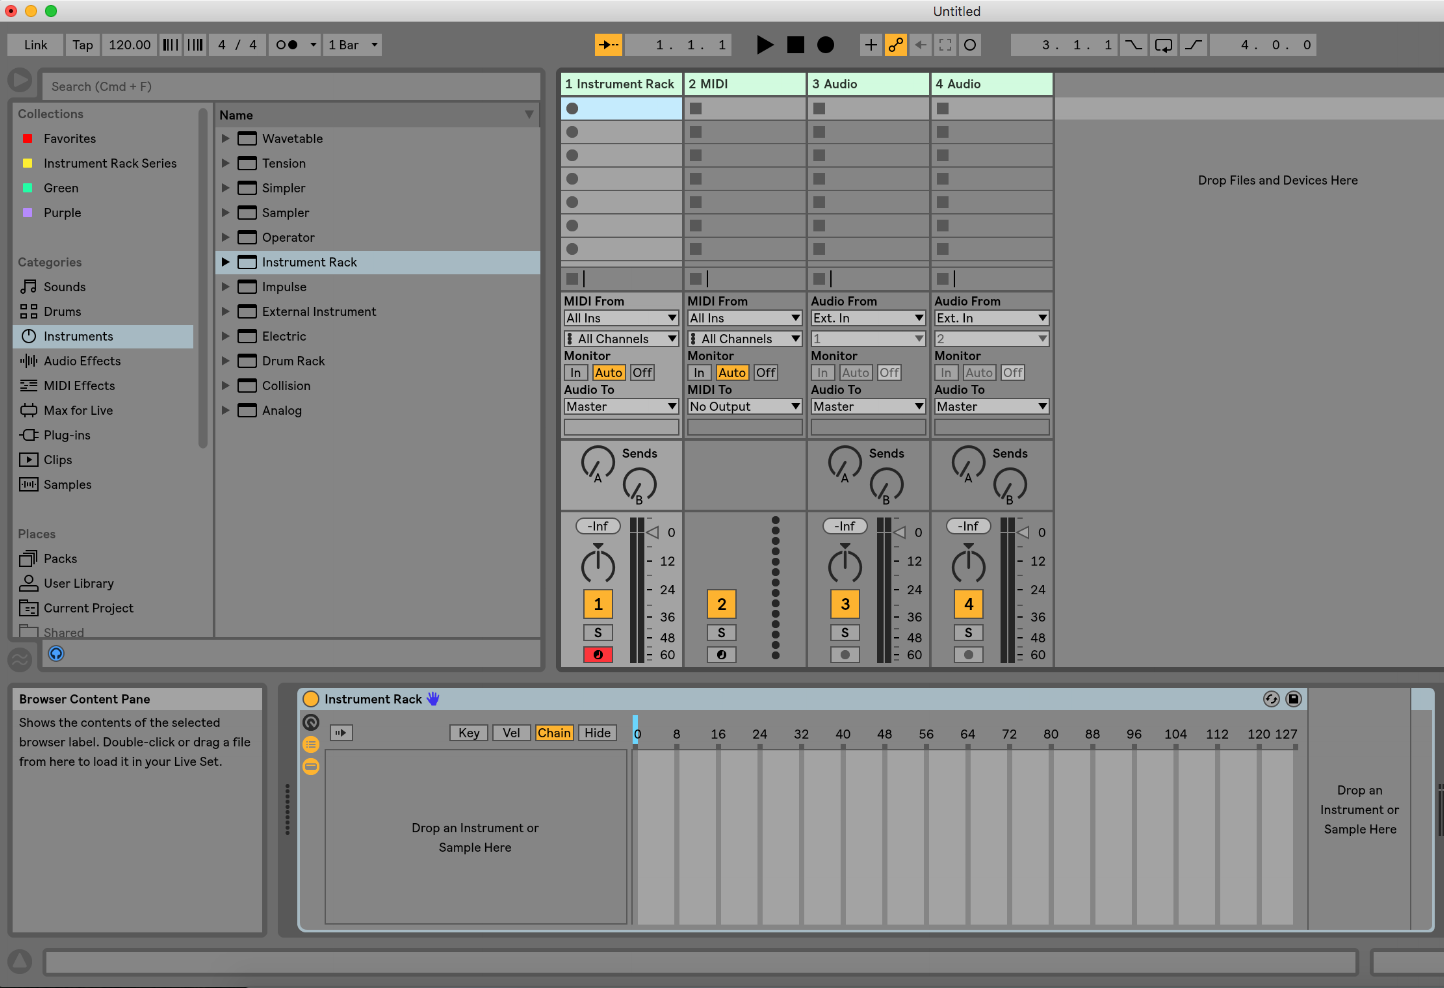
Step One
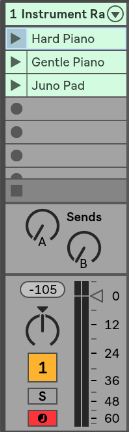
Insert an instrument rack onto a default midi channel strip
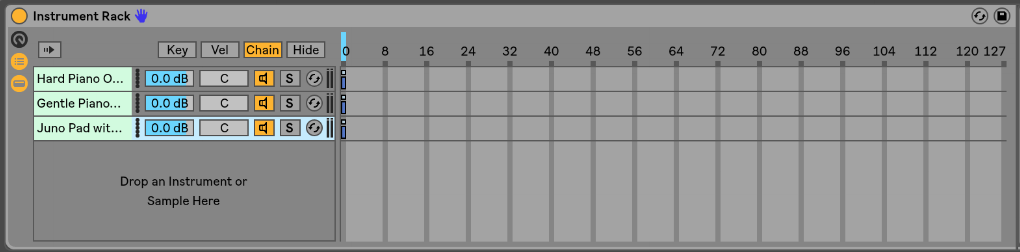
Step Two
Add all of the instruments you would like to use. For this example, I’m using two types of layered pianos, and a thick pulsing pad.
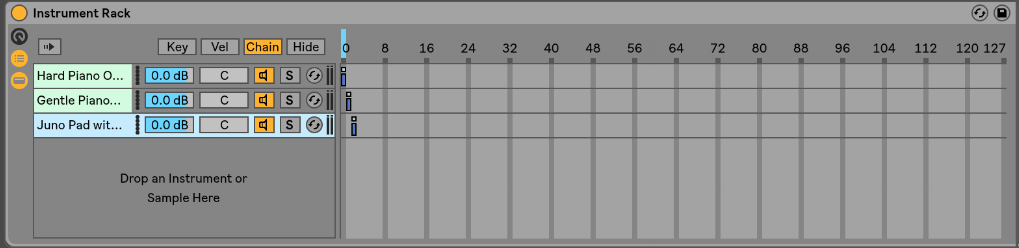
Step Three
Move each instruments chain to a separate location on the X-axis. Remember, chains taking up the same x-axis location can be used for instrument layering.
Step Four
Move your chain selector to the position of your first sound.
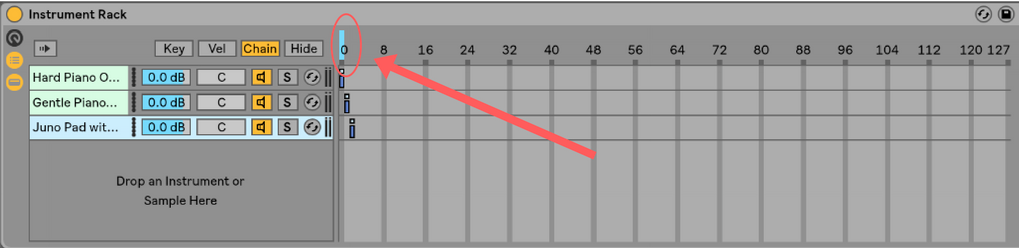
Move the chain selector to this position manually. This tells Ableton which parameter you want to automate, and will save you lots of time when you are creating large amounts of dummy clips.
Step Five
Create a new dummy clip by double-clicking in an empty click slot
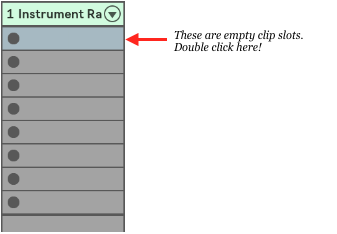
Once you’ve double-clicked two things will happen.
- A new blank clip will be created.
- The clip bottom of your screen will display the “Clip view” which displays your envelope box.
Ableton will automatically have the instrument rack, and chain selector set in the device and control chooser boxes (see below). It knows to do that because we adjusted that parameter MANUALLY. This works with all device parameters and saves major time when creating automation.
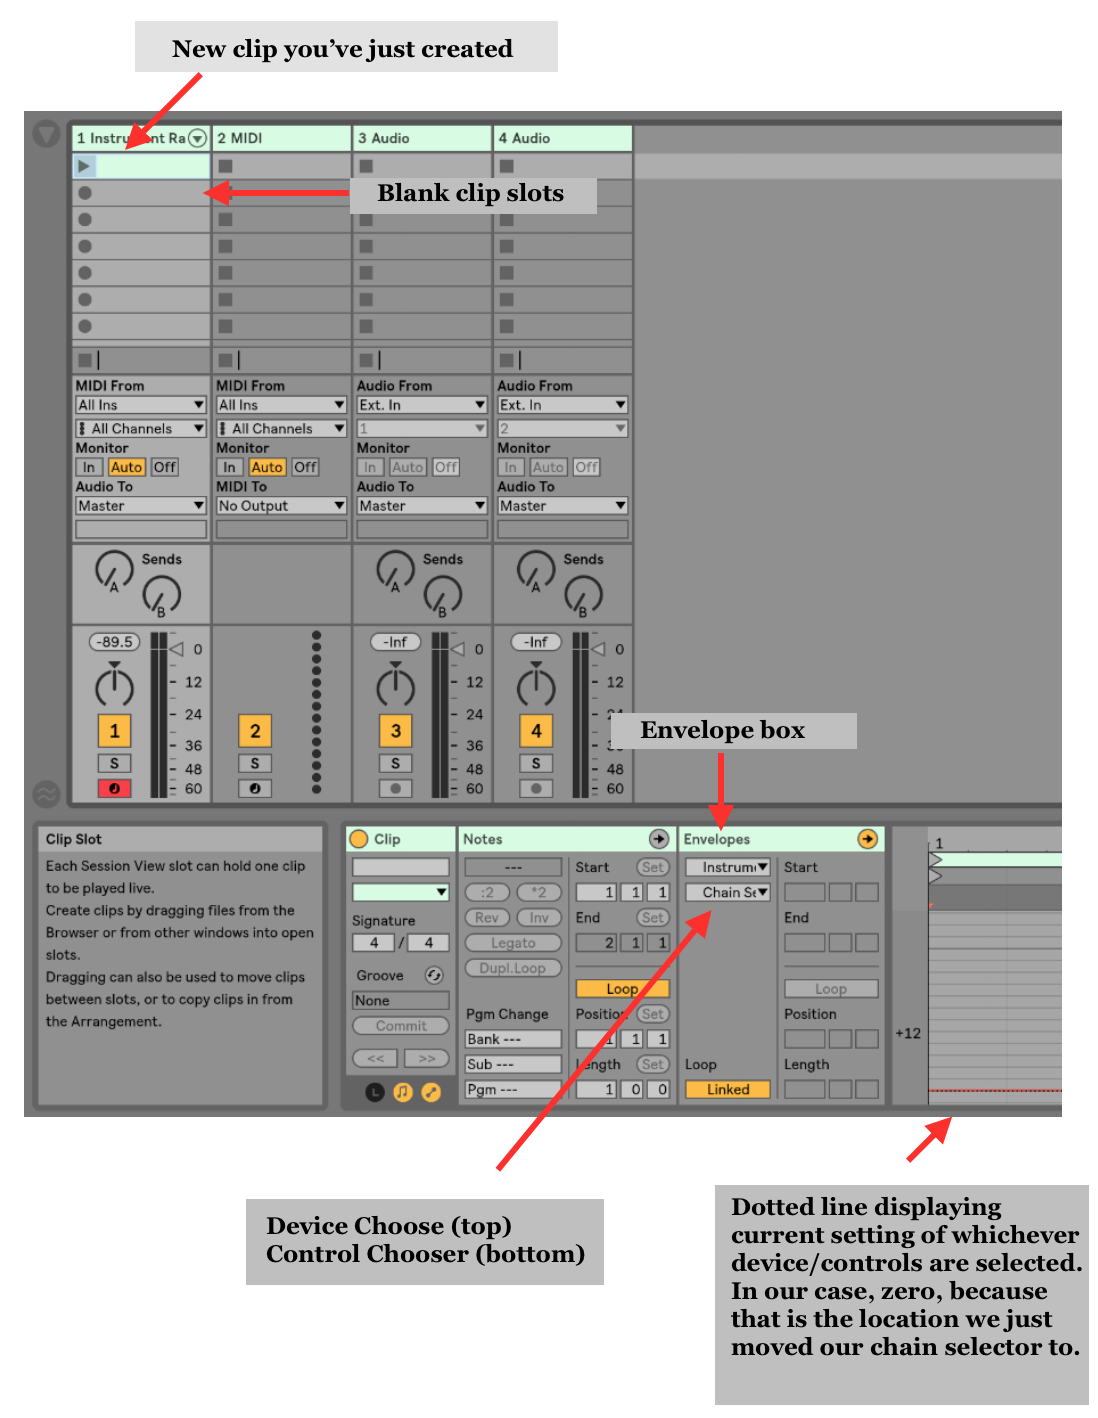
Double click the dotted red line in the clip detail so Ableton knows where to move your chain selector when that clip is fired

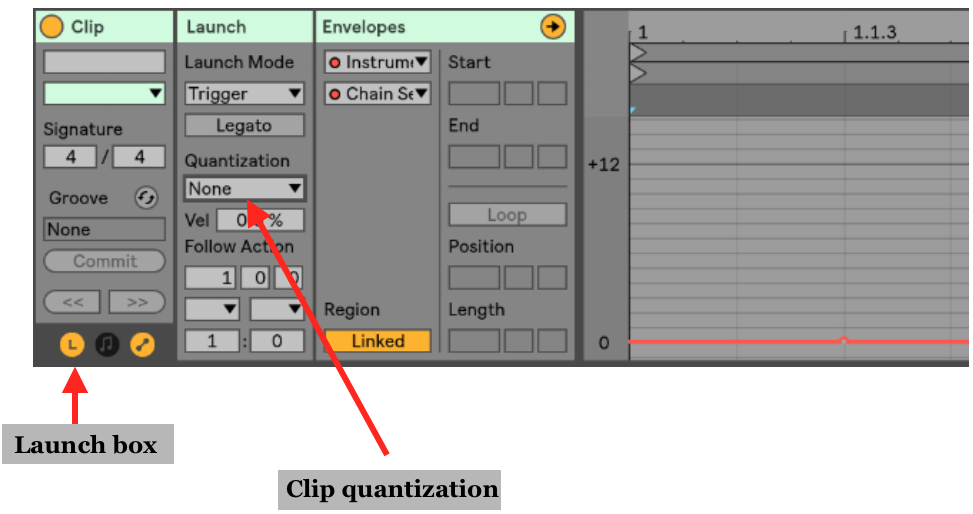
Click the launch box on the bottom left and set the clips launch quantization to none.
Step 6
Repeat steps 4 and 5 for each sound
Step 7
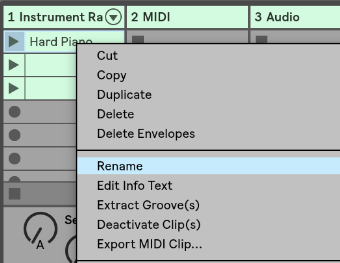
Rename each clip to match your patch name. You can do this by right mouse clicking on your clip and choosing rename
Step 8
Midi map a button to each clip for easy spontaneous patch triggering
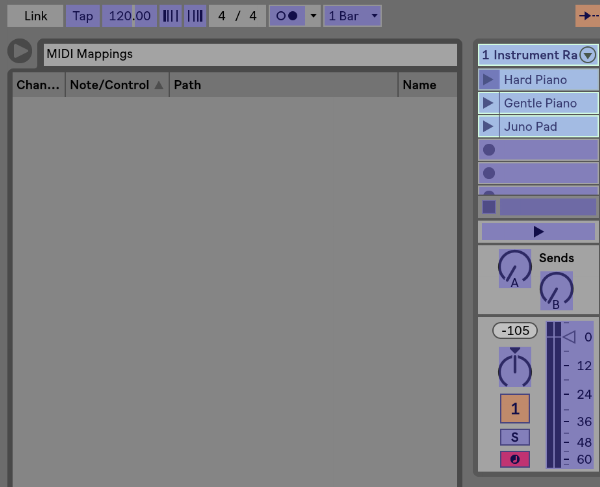
In the top right-hand corner of Ableton’s screen, click the box that says “MIDI”

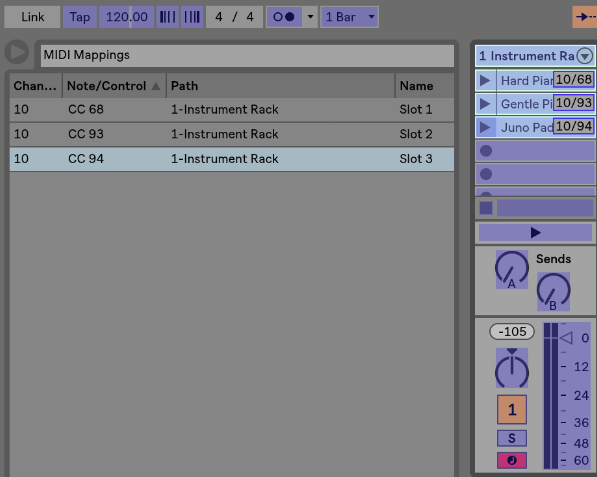
Select each clip 1 by 1 and assign a button on your keyboard or a controller to fire each clip.
Once each clip is mapped, it will look like the below picture. You can then exit out of the midi mapping mode.
Now take the time to go ahead and test out how this works. Each time you press the assigned buttons on your keyboard or controller, your sound will change. When you are working with a larger patch list, you can map a special button to these (or any) sounds you like to be able to access them at any point.
If you would like to build a larger set list that allows you to scroll through your sounds, check out my blog post here that builds on the work you’ve already done on this page! Once it is created, remember to incorporate this helpful jump to feature to allow you to return to any sound you would like, spontaneously.