When you are using any type of backing track for live performance, it is helpful to take everything you have created and bounce it down to stems.
Before we move on, here are some helpful terms to understand
Bounce down: When Ableton takes the audio and midi information you have created inside the program and creates a new audio file, that sounds identical, outside of the program.
Stem: A bounce down of the audio from a single track.
Why should I do it?
Imagine you have created a synth part on your latest soon to be hit track. You are running your synth through 2 reverb plugins, a chorus, effect, a distortion plugin, and are using a sidechained kick to create a pulsing synth effect. Ableton is taking the original source sound, your synth, and processing it with all of those effects. That takes some major thinking power from your computer.
When you bounce down the audio from that track, you get exactly the same sound, but without using any of the processing power to create it, because the effects are now built-in to your newly created audio file.
Pretty brilliant.
Context.
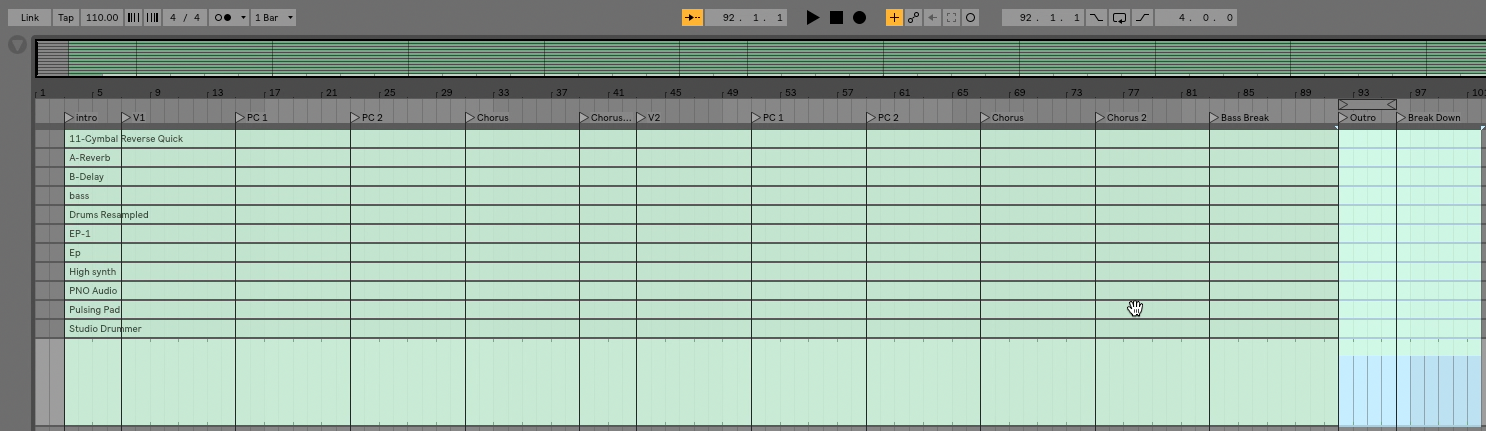
I do a lot of teaching. This summer I’ve had the pleasure of working with some super talented students at Creative Arts and Athletics Summer Camp. We are working on a “glee club” style performance of “Can’t Stop The Feelin'”.
When we actually perform it, I play the bass part on my Ableton Push and have the rest of the parts tracked and running in the background.
Since I don’t need to have any real control over the audio from the other parts, there is no reason for me to leave the various drums, synths, and horn sounds as MIDI information. I bounced down the stems for the performance, and have one single midi instrument, my bass sound, so I can play that on my push while the kids perform.
The Steps
- Save your file under a different name.
You want to make sure you have an original copy of your work somewhere on your computer, so when I create stems, I always start by saving my file under a new name.
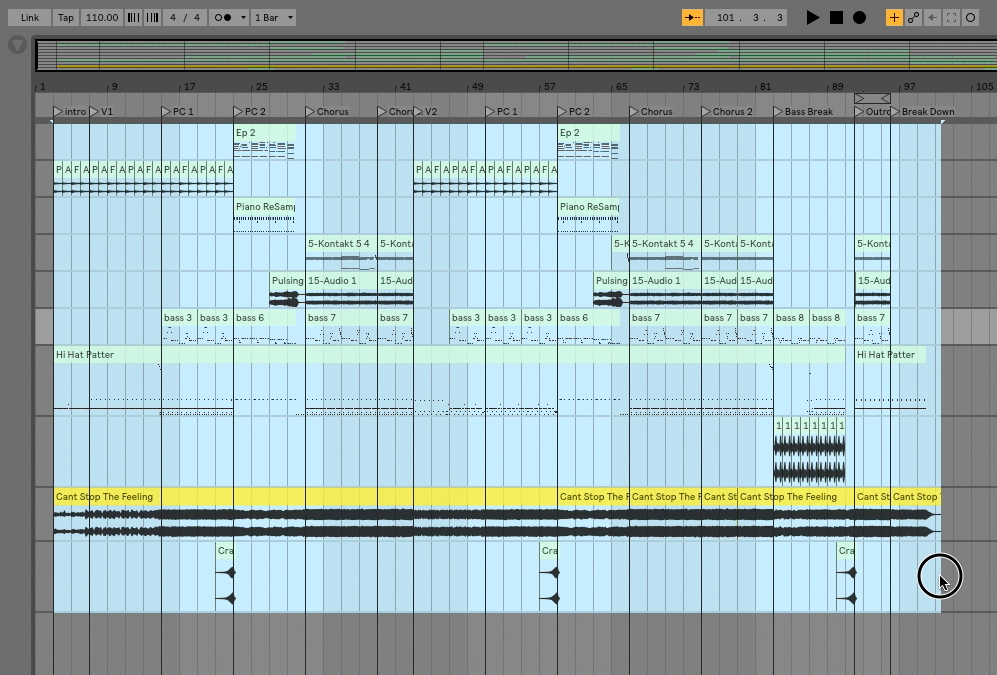
2. Clean your set.
You are about to create a ton of new audio files. So you know exactly what audio you are looking at once the bounce down process is completed, it is very helpful for you to:
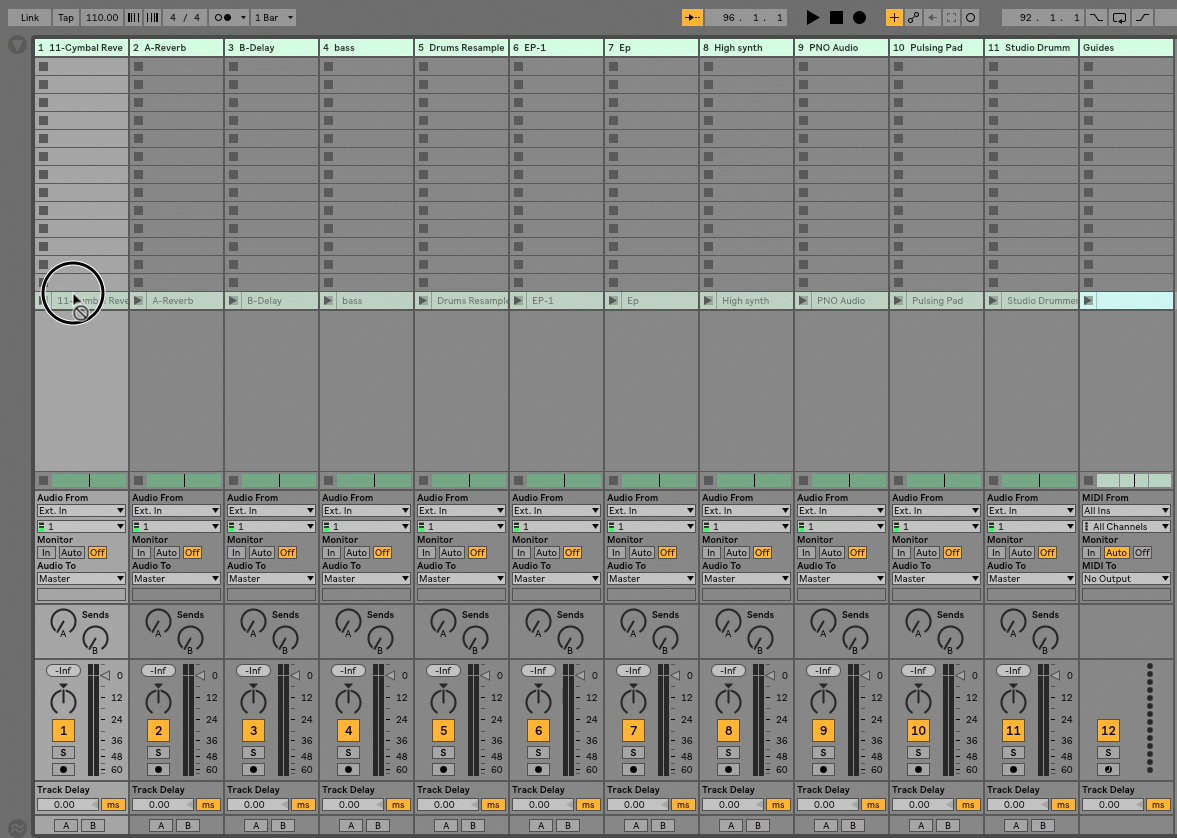
a. Remove all unused channels
b. Rename all tracks to reflect the audio that’s in them
3. Select the area you wish to bounce down.
4. From the drop-down menu, choose File -> Export Audio/Video
Once you’ve done that, you will see the following dialogue box.
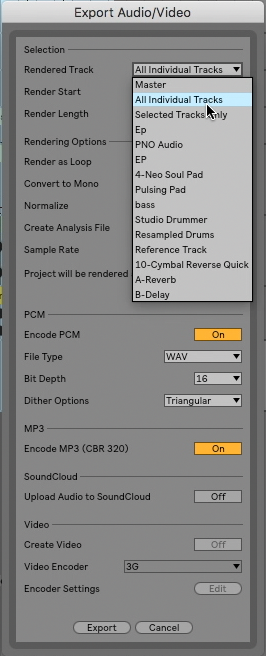
5. Under the rendered track drop-down menu, choose “All Individual Tracks”
Ableton will then prompt you for a location to save your files in. I often create a folder on my desktop, that I move to a more functional location later.
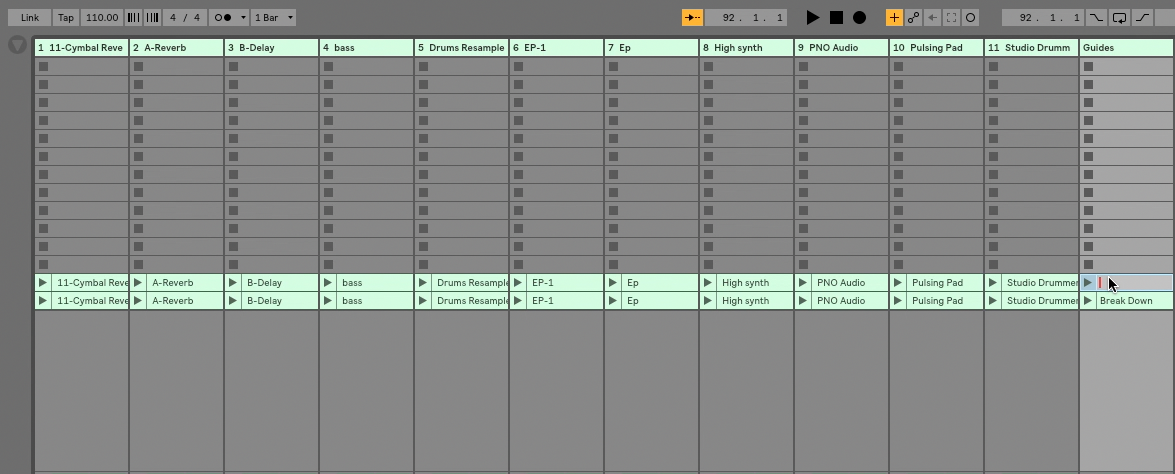
6. Drag your stems back into your project.
Be sure to hold down command while you are doing this so that Ableton places each stem into a different track, rather than all of the audio files into a single track.
The reason I drag them back into the original file is so that I can easily make use of my locators when bringing sections of audio into session view.
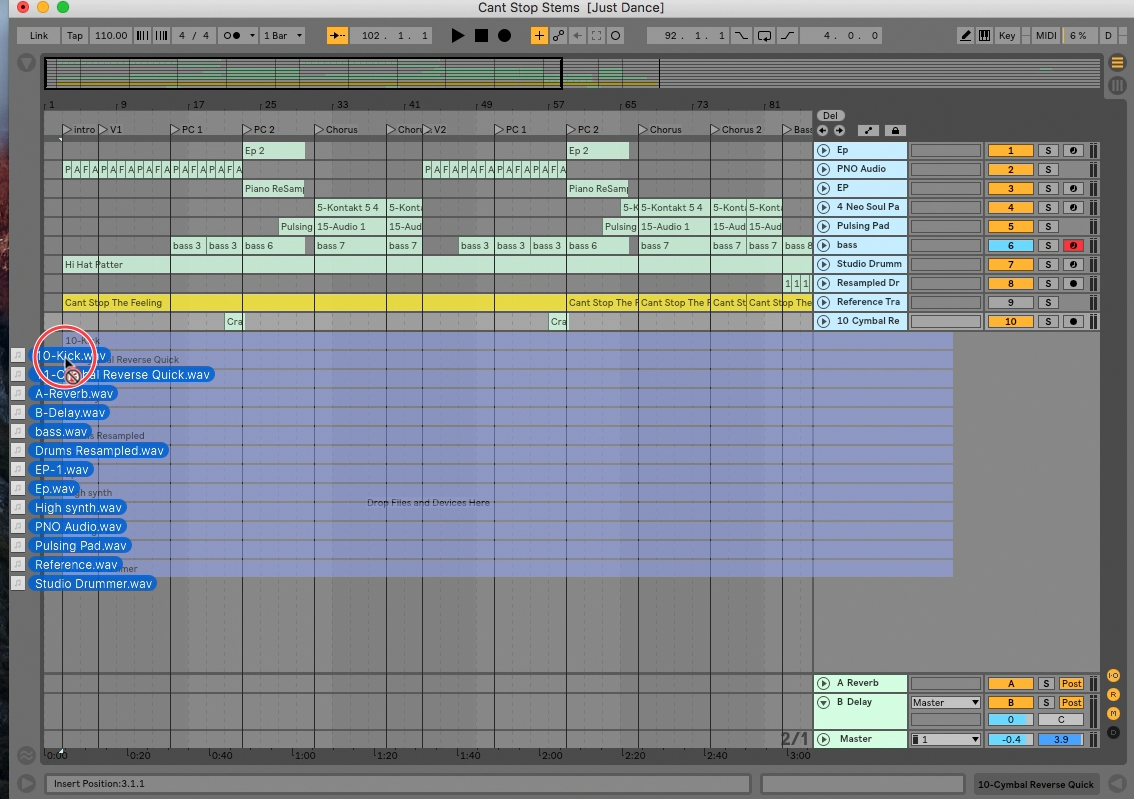
7. Delete original audio and MIDI files.
You might be thinking, oh no what would i do that what if i loose my work!?
That is a valid though. Remember though, that we created a copy of your original Live set, so your original files still exist under a different file name. For our purposes, we no longer need the original audio, we just need the markers.
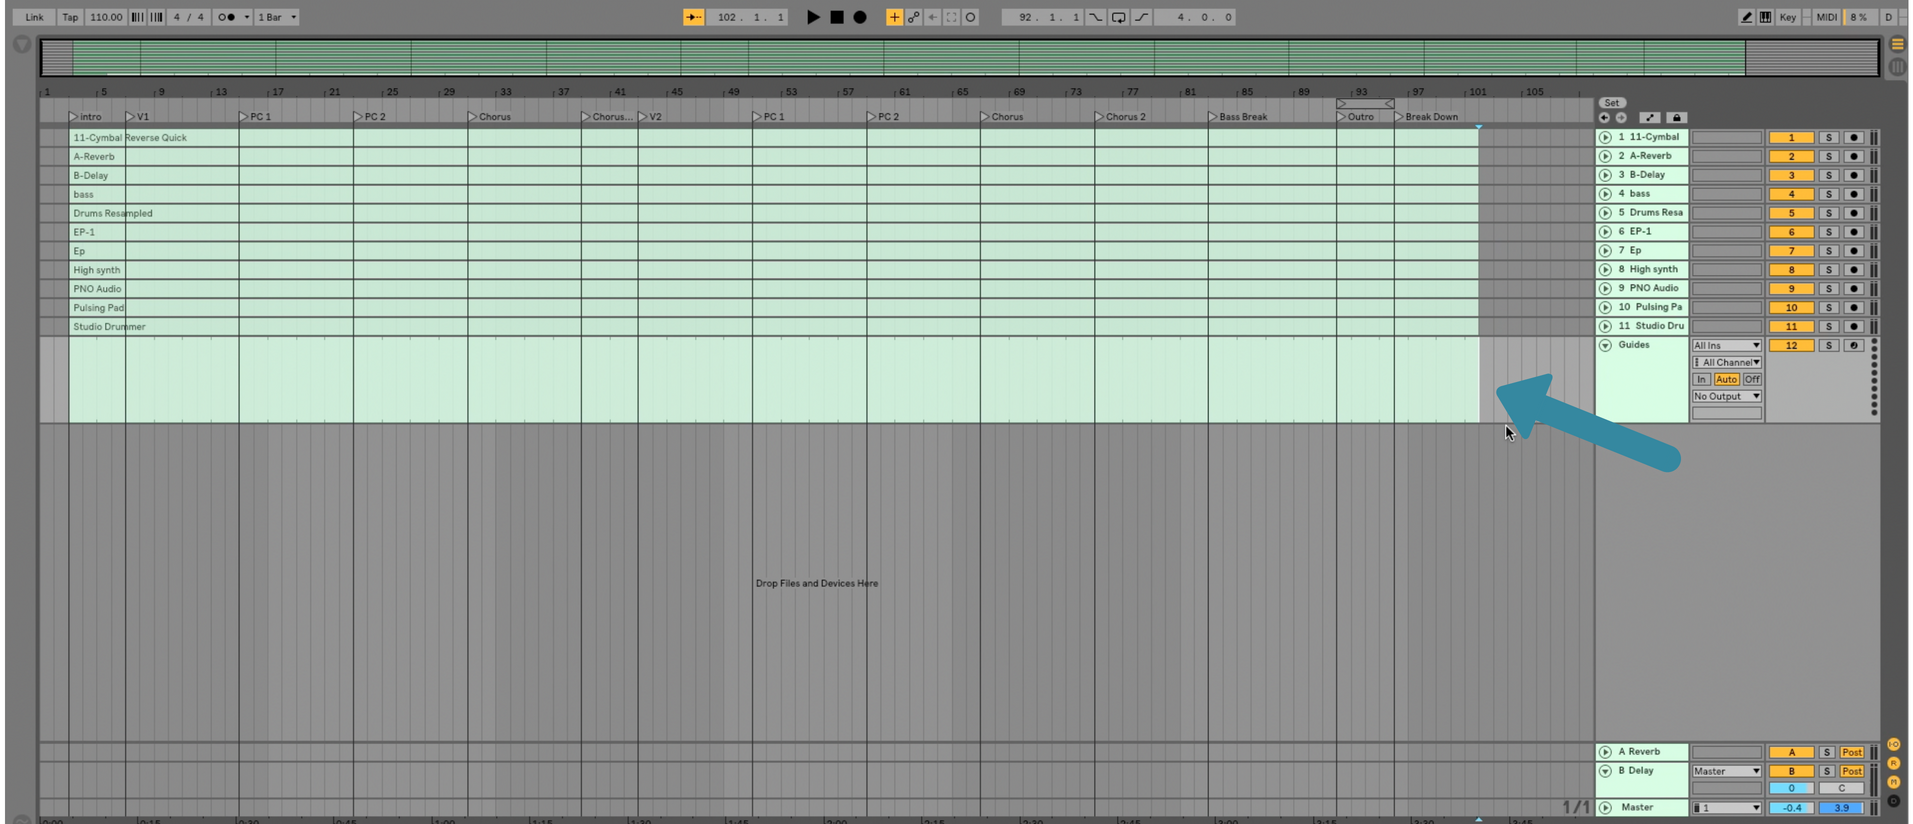
8. Create a new Midi track, and rename it “Guides”. Insert A midi clip onto that track that spans the entire length of the arrangement.
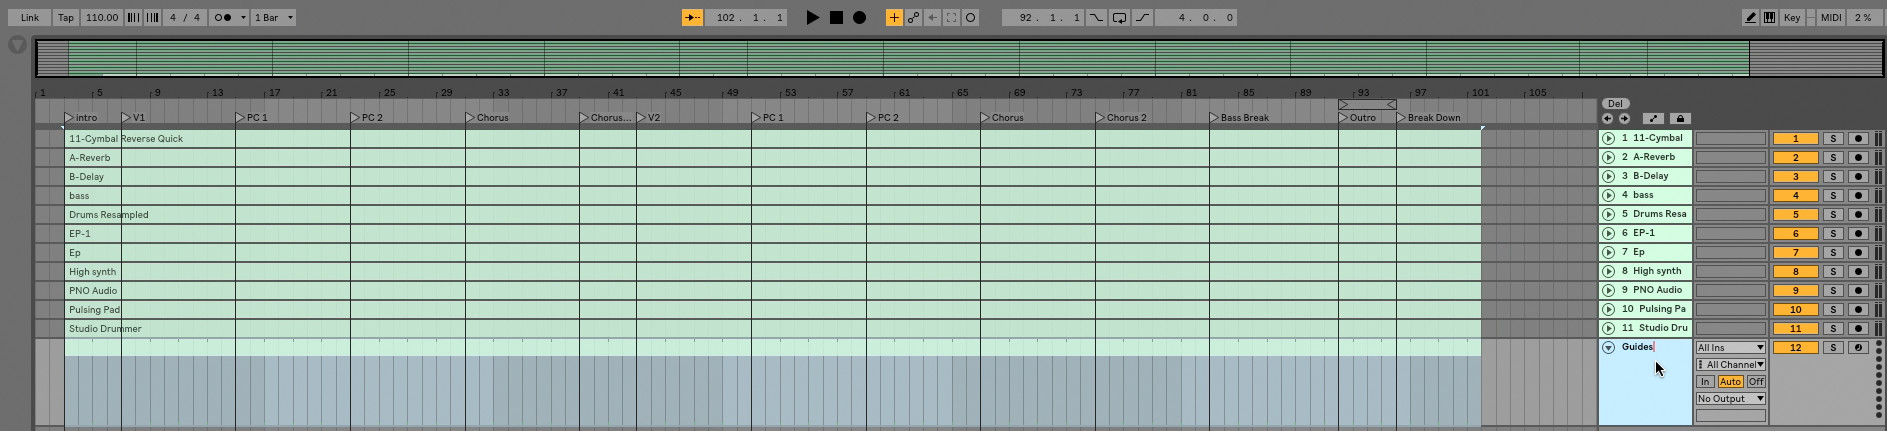
Eventually, these tracks are going to be in a live set with many other songs. I will use this empty midi clip as a way to mark which part of the song I am in when I move to session view.
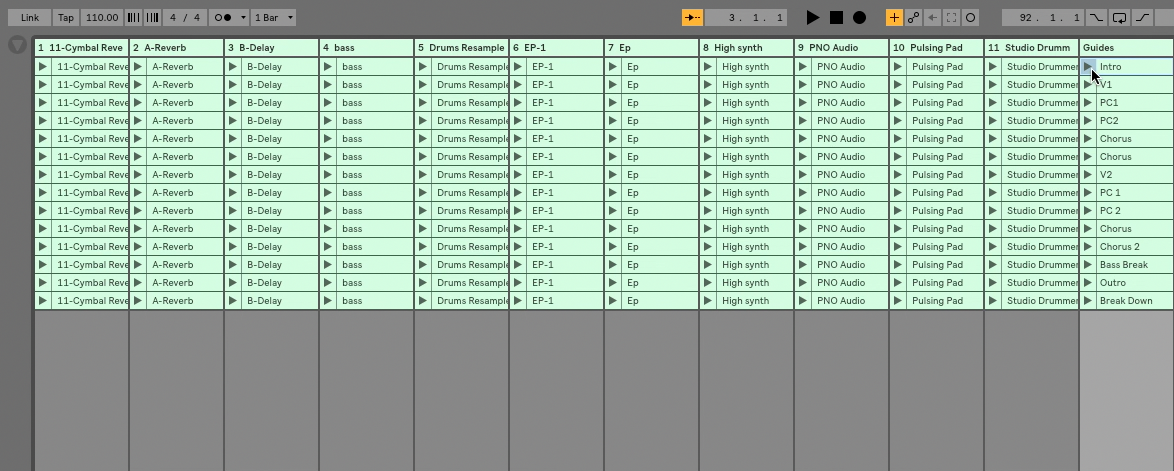
9. Count your locators.
In my song, I have 14 locators. This is how many sections I will need to break my song into in session view for ease of rehearsal.
10. Head over to session view by hitting tab, and create new scenes until the number of scenes you have equals the number of locators you counted.
You can do this quickly by pressing Command – I on your keyboard.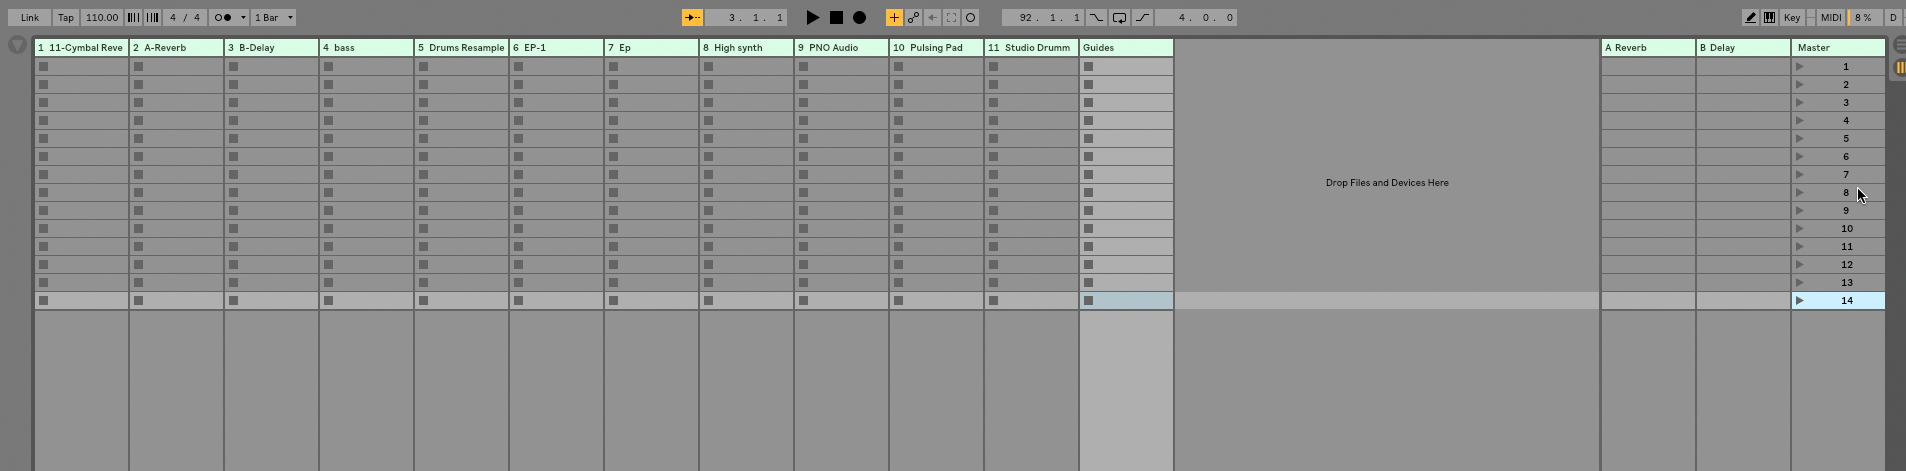
Moving To Session View
I move things to session view slightly different from what I have seen floating around on the web. Its a little tricky, but stay with me, because once you understand the process, its faster and more CPU friendly than other methods.
- Use your mouse, and click the end of the clip in the bottom track of arrangement view
2. Hold down shift, and use the up arrow in your keyboard untill you have selected the very very end of each track.
3. Hold down Option and Shift, and press the left arrow one time. This will select every track from the end of the song to the last locator.
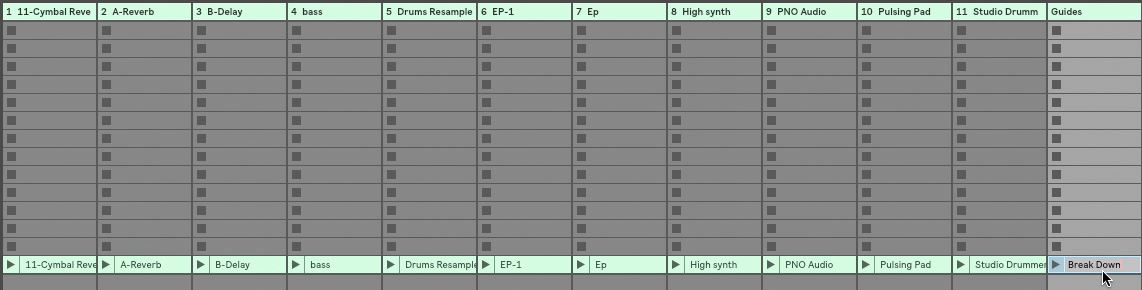
4. Click on the selected part of the clip with your mouse, press tab on the keyboard, and drop those files into the last scene of your session view.
5. Rename the guide clip to match the name of the last locator. In this case “Breakdown”.
6. Hit tab to return to arrangement view. Then press Command – Shift – Left arrow to select the next locator.
7. Click the selected area, press tab and drop it into the next slot in session view.
8. Rename the guide clip to match that locator’s name, in this case, “Bass Break”.
9. Repeat for each scene.
Your finished product will look something like this.
Make your music easily move between sets!
Chances are, you will have a different set then the one we’ve just worked in for live performace purposes. So this is how I make my tracks move easily between Live sets.
- Select all of the tracks, and press Command-G to group them together.

2. Rename the group in the following format
SongName_TimeSignature_Tempo_Key
So in this case: CantStopTheFeeling_4_4_110BPM_C
this may seem excessive, but excellent organization now saves lots of headaches later.
3. Click on the group you just created, and drag it with your mouse into the user library.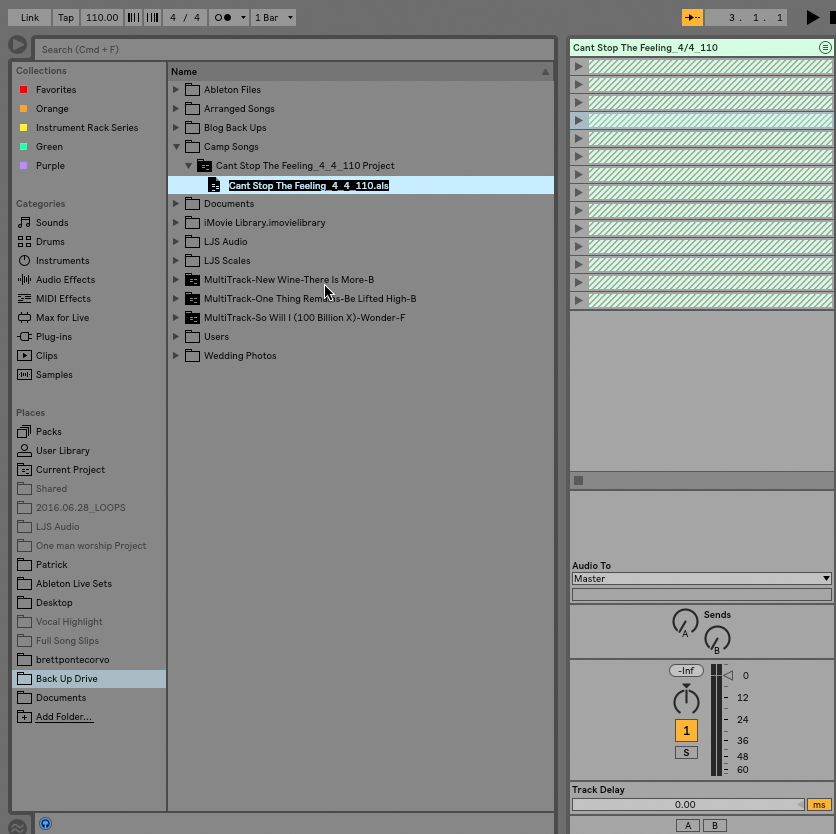
Now when you need to bring this into another Live set, you can easily drag these files in just by selecting the group in your user library and dropping them in. All of your sections are will be clearly labeled by the Midi clips you created, and all of the tracks are clearly labeled because of the reorganiation you did before bouncing your stems!